


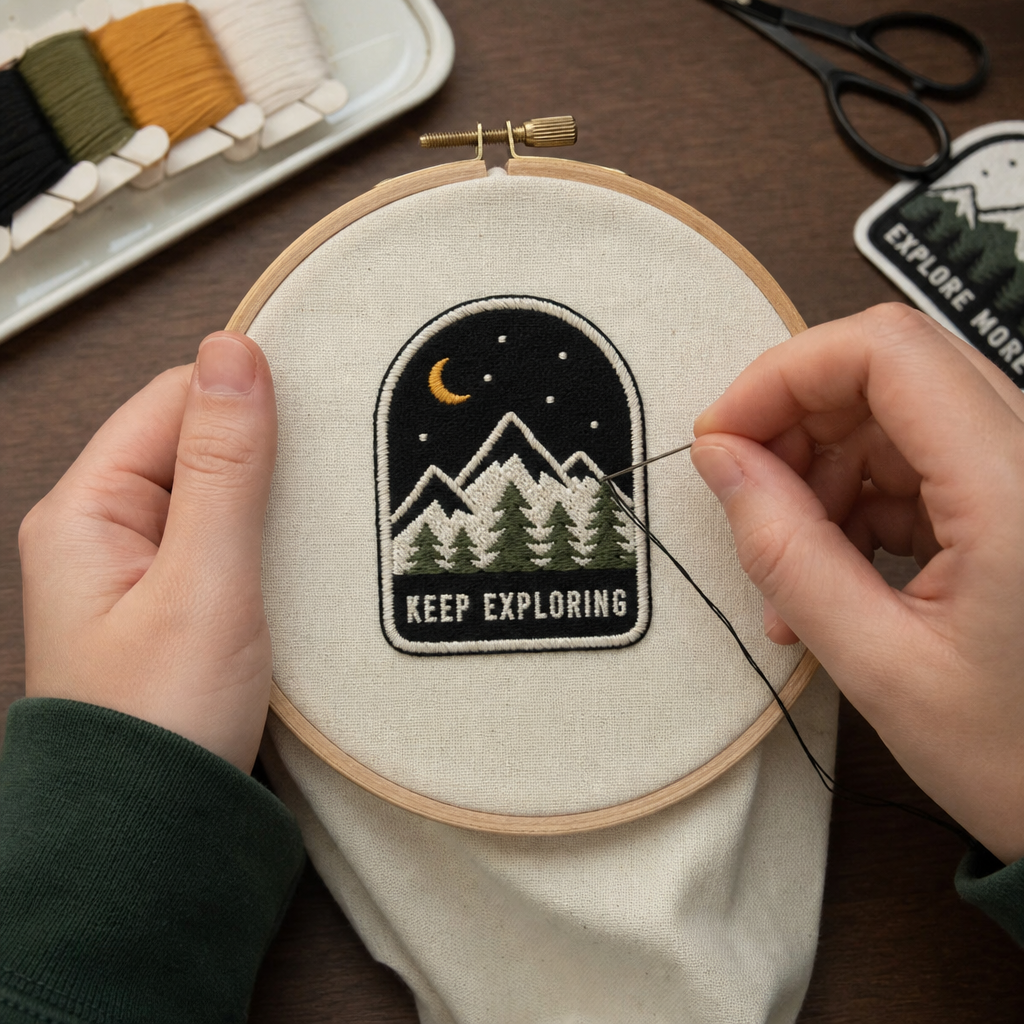
The first patch I ever tried to make came out looking like a lumpy pancake with thread on it. The edges frayed within a week, the fabric puckered in the middle, and I couldn’t figure out why my “perfect circle” had turned into something closer to an egg. Turns out I’d skipped basically every step that actually matters. So this is the guide I wish someone had handed me before I started the stuff that separates a patch that looks store-bought from one that looks… well, like my first attempt.
Whether you want to personalize a jacket, make merch for a small brand, or just see if you can pull this off with a needle and some spare felt, here’s what you actually need to know.
What's Really Going On With a Patch
Strip it down, and a patch is just thread stacked over a stiff base fabric, with the raw edges locked down so nothing unravels, plus a backing so you can actually stick it to something. That’s it. People were doing this by hand long before machines existed; military badges and old royal crests were all hand-stitched, dense and heavy, meant to survive decades of wear. Machines came along and sped things up, but hand embroidery never really went away. If anything, it’s having a moment right now, mostly because machine-made patches all start to look a little too identical.
Hand or machine, you’re doing the same five things: designing, prepping your materials, stitching, sealing the edge, and attaching a backing. The order never changes. What changes is how much of it you’re doing yourself versus letting a machine handle.
Don't Cheap Out on Materials
This is where I went wrong the first time, and it’s where most people go wrong. You cannot use whatever scrap fabric is lying around.
Thin stuff like cotton quilting fabric or silk just can’t take the tension of dense stitching it puckers, it tears, it’s a mess. Embroidered Patches Twill is the standard for a reason. It’s what’s on sports jerseys and military patches, because it doesn’t stretch and it holds up under heavy stitching. If you’re new to this, though, felt is honestly the friendlier starting point it doesn’t fray at all, so cutting your finished piece out is way less stressful. Canvas works too, if you want something with a heavier, rougher texture.
Then there’s stabilizer, which nobody warns you about but which matters more than almost anything else. Thread pulls on fabric a lot more than you’d expect, and without something underneath holding everything steady, your design bunches up and warps. Tear-away stabilizer is common and fine, but a lot of people who actually make patches for a living lean toward heavy-duty water-soluble stabilizer instead. You can even skip the base fabric entirely and stitch straight onto layers of it, then wash the excess away for an edge so clean it looks machine-cut. Cut-away is the toughest option of the three and works well when you’re doing something dense on twill.
For backing, heat-seal adhesive film is the thing that turns your finished stitching into an actual iron-on patch. It’s a double-sided adhesive sheet iron it onto the back, peel off the paper, done. It’s convenient, but it’s not forever. If a patch is going somewhere that gets washed constantly, like a uniform, sew it on instead, or do both: iron it down to hold it in place, then stitch around the edge so it never budges.
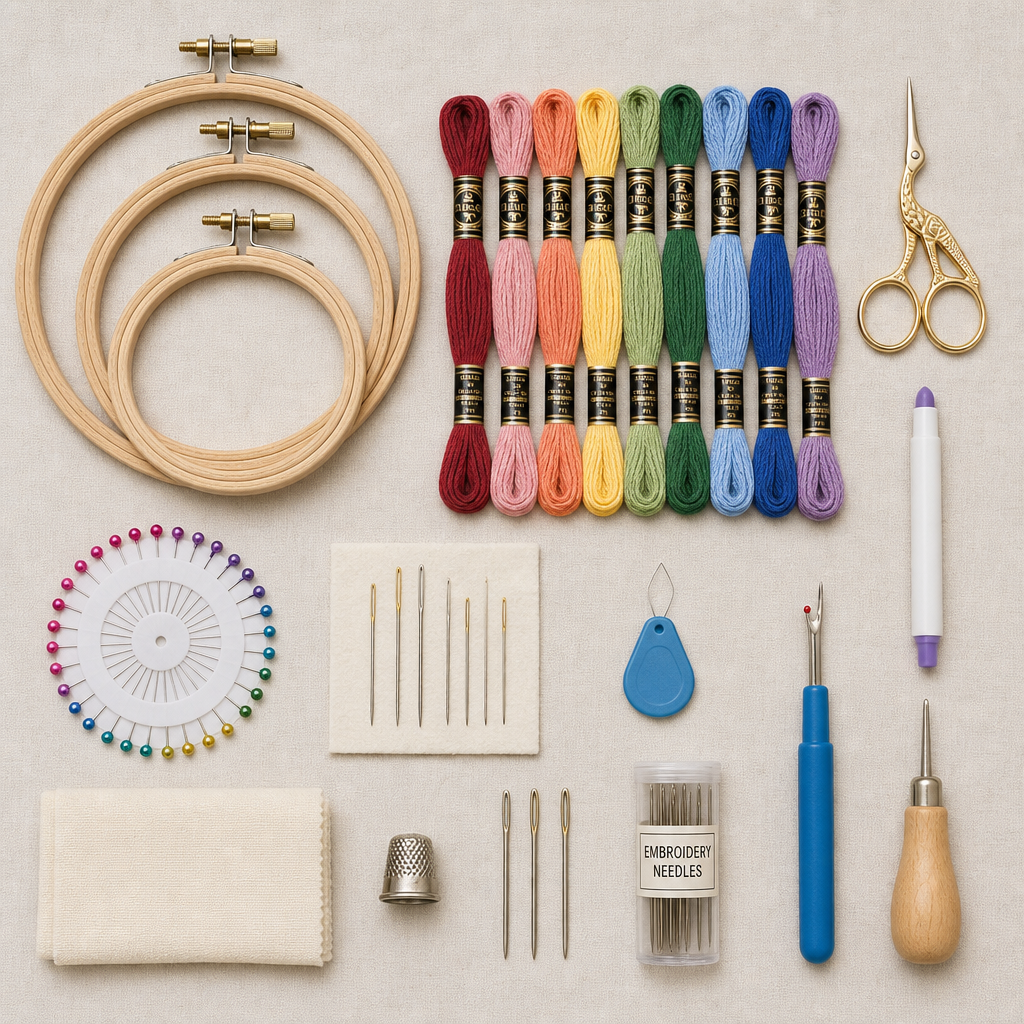
Grab a hoop to keep your fabric tight, sharp needles, and a pair of small curved appliqué scissors. Trust me, regular scissors will not let you trim close enough to the stitching without slipping. Use polyester thread over cotton or rayon. Embroidered Patches It resists fading and holds up to friction far better, and friction is basically the entire enemy of a patch’s lifespan.
Designing for Thread, Not for Screens
Here’s the thing nobody tells beginners: designing for embroidery is nothing like designing for print. You’re painting with thread, and thread has opinions about what it’s willing to render. Tiny details just vanish or turn into a blob nobody can identify.
Keep shapes bold and colors solid; skip the delicate shading; it won’t survive translation into stitches. Most finished patches sit somewhere around 2.5 to 3.5 inches, and text under roughly a quarter inch tall becomes unreadable once it’s stitched. Embroidered Patches Somewhere between four and seven colors tends to look sharp without turning into chaos. And always, always leave a thick border in your design; every patch needs one to seal the edge properly, and it’s easy to forget until you’re staring at a design with nowhere for the border to go.
If you’re going the machine route, you can’t just drop in a JPEG. Your artwork has to be digitized, turned into a stitch file with software like Hatch, Wilcom, or the free option Ink/Stitch. This is genuinely its own skill. Embroidered Patches A solid digitizer builds in an underlay layer first (loose stitches that stabilize the fabric before the dense stuff goes on top), accounts for how thread naturally warps fabric as it pulls, and plans the stitch path efficiently so the machine isn’t wasting time jumping across the design.
Doing It By Hand
No machine? Totally fine, honestly; hand embroidery has a texture and character machines can’t fake, and that’s not me being sentimental about it.
Cut your fabric and stretch it drum-tight in a hoop no slack anywhere. Transfer your design either with a water-soluble pen (the marks vanish with a damp cloth later) or with stick-and-stitch paper, which you adhere to the fabric, stitch right through, then dissolve in water once you’re finished. The second method gives noticeably cleaner results if your design has any real detail to it.
You only need a handful of stitches. Backstitch for outlines and lettering. Satin stitch: tight, parallel lines of thread for filling in solid shapes, which is what gives a finished patch that smooth, slightly raised look. French knots for small texture details, like eyes or the center of a flower. Long-and-short stitch if you’re trying to blend colors into each other.
When the design’s done, pull it out of the hoop and cut around it, leaving a thin margin of bare fabric; an eighth of an inch is plenty. Then grab a thicker thread and whip-stitch or blanket-stitch tightly around that entire raw edge. This is the step that decides whether your patch survives a wash cycle or falls apart in one. Finish by ironing on a piece of heat seal film cut to your patch’s shape, with parchment paper protecting the front, pressed for ten to fifteen seconds.
Doing It By Machine
If you’re making more than a handful, a machine changes everything. Single-needle machines are fine for hobbyists but mean manually swapping thread every time the color changes. Multi-needle machines automate that entirely, which is why most people running an actual patch business eventually upgrade to one.
The technique that gets used most is “floating.” Rather than hooping your actual fabric, hoop two layers of heavy-duty water-soluble stabilizer, spray a light coat of temporary adhesive on top, then smooth your twill onto that. Embroidered Patches This keeps the hoop from leaving permanent marks on the fabric itself.
The machine stitches a placement outline first, so you know exactly where to trim, followed by a tack-down stitch that locks the trimmed edge in place. Then it runs the full design. Watch the tension while it’s working: bobbin thread showing on top means your top tension’s too tight; loose loops sitting on the surface mean it’s too loose. You want roughly a third of bobbin thread visible on the back.
The last thing the machine does is the border: a dense satin stitch, at least 3 to 4mm wide, which locks the raw edge down completely. It’s not technically the same as a true merrowed edge, which needs a specialized overlock machine, but it looks close enough that almost nobody notices the difference. Embroidered Patches Once it’s done, trim off the leftover stabilizer and wipe the edge with a damp sponge; the rest dissolves away, leaving an edge with zero fraying.
What Usually Goes Wrong
Fraying edges almost always mean the fabric wasn’t trimmed close enough, or the border needs to be wider. Puckering comes from stretching the fabric too tight in the hoop instead of floating it. Constant thread breaks are almost always a dull needle swap it before you troubleshoot anything else. And if a finished patch curls after its first wash, the backing wasn’t heavy enough; heat seal film fixes that.
If You Want to Sell Them
A multi-needle machine removes your biggest bottleneck fast. If digitizing isn’t your thing, outsource it: send a logo, get a stitch file back within a day or so. Skip trying to be everything to everyone; niching down into something specific, like tactical patches or custom pieces for events, tends to work better than “custom patches for anyone.” And buy your thread and twill in bulk; it drops your cost per patch quickly once volume picks up.