


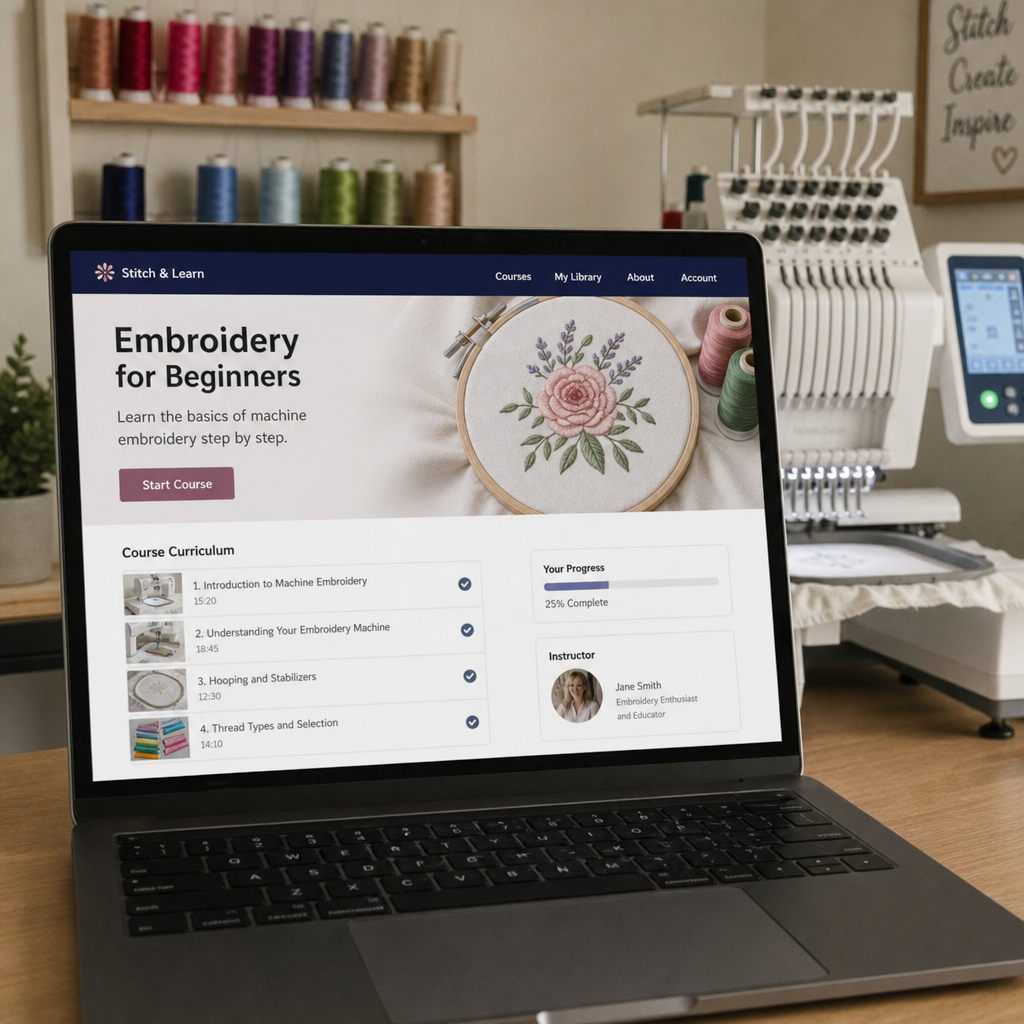
You buy your first embroidery machine, load up a design you’re excited about, and then hit a wall: the machine has no idea what to do with a JPEG or PNG. It needs a stitch file, and getting one made can run anywhere from $15 to $75 per design if you’re not paying attention to where you’re ordering from. For someone just getting started, that adds up fast, especially when you’re still testing logos and working through the usual trial-and-error phase.
Finding affordable embroidery digitizing that doesn’t sacrifice quality is exactly the challenge here. The reassuring part is that cheap and bad aren’t the same thing there are real, legitimate ways to get clean stitch files without blowing your budget in month one. You just have to know where the genuine savings are and where cutting corners is going to cost you more later, usually in wasted thread and ruined fabric.
We’ll walk through the options that actually make sense for beginners, what drives digitizing prices up or down behind the scenes, and the mistakes that lead people to throw away stitches they paid for. By the end, you should have a solid sense of which route fits your budget and where you’re at right now.
What Embroidery Digitizing Actually Involves
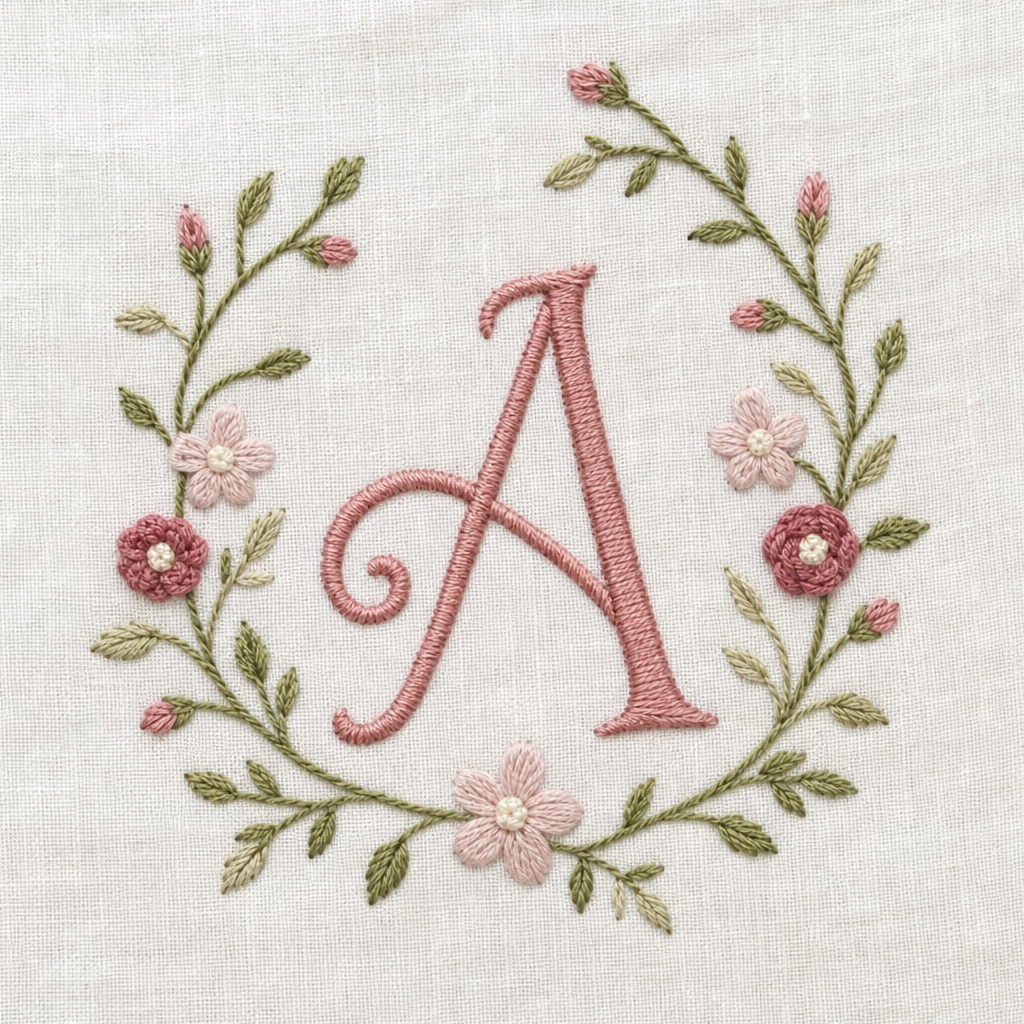
Digitizing turns artwork into a stitch file your machine can execute it tells the needle where to go, which stitch type to use, and when to switch thread colors. It’s not tracing an image, even though it can look that simple from the outside. A digitizer has to think about stitch direction, density, and how the fabric is going to shift under tension once the needle starts working.
Mess that part up and you end up with puckering, gaps, or thread snapping halfway through a run. For beginners, understanding this shifts how you shop for a digitizing service in the first place. A $10 file rushed out in five minutes and a $10 file from someone who actually adjusted underlay and pull compensation for your fabric are not the same product, even if the price tag matches.
Where Beginner Embroidery Digitizing Actually Gets Affordable
There are four realistic paths here, and honestly, which one makes sense depends entirely on where you’re at with this hobby or business.
- Learning to Digitize It Yourself
Free tools like Ink/Stitch, an open-source plugin for Inkscape, let you digitize simple designs without paying per file at all. There’s a real learning curve your first ten attempts are probably going to look rough but for basic monograms, text, or simple shapes, it becomes genuinely usable once you push past that early frustration.
We’ve seen plenty of hobbyists land here just because they’re making occasional patches or small gifts, not running an actual business yet. If that sounds like your situation, the time you put in pays for itself pretty quickly.
- Using a Budget Online Digitizing Service
A solid embroidery digitizing service can turn a logo into a finished stitch file within 24 to 48 hours, usually for less than what a local shop would charge for the same job. These services operate at volume, which is precisely how they manage cheap embroidery digitizing rates without necessarily gutting the quality they’re just faster at the whole process.
The catch is you need to check reviews and ask for a sample file before dropping money on a bulk order. Any service that won’t show you a stitch-out test is one worth being cautious about.
Digitizing Marketplaces and Freelancers
Marketplace platforms let you browse independent digitizers side by side, comparing portfolios and pricing directly. Rates swing quite a bit here someone newer to the platform might charge less just to build up reviews, and that can genuinely work in your favor if their portfolio already shows solid technical chops.
- Pre-Digitized Design Packs
If you don’t actually need something custom, pre-made stitch file bundles holiday designs, common monograms, popular motifs often sell for a few dollars each in packs of dozens. This is one of the most overlooked ways beginners save money, mostly because people assume everything has to be custom-built from scratch.
Comparing Your Digitizing Options by Cost and Skill Level
| Option | Typical Cost | Best For | Turnaround |
| Self-digitizing (Ink/Stitch) | Free (time investment) | Simple text, monograms, basic shapes | Same day, once learned |
| Budget digitizing service | 5–25 per design | Logos, small business branding | 24–48 hours |
| Freelance digitizer | 10–40 per design | Custom, detailed artwork | 1–3 days |
| Pre-digitized design packs | 2–10 per pack | Common motifs, holiday designs, no customization | Instant download |
What Actually Drives the Price of Custom Digitizing Services
Stitch count tends to be the biggest factor. A dense, detailed design with thousands of stitches simply takes longer to program correctly than a clean three-letter monogram, and that time shows up in the price. Complexity plays into it too: gradients, fine text, and overlapping elements all demand more manual adjustment than bold, solid shapes.
Turnaround speed matters just as much. Rush orders, especially same-day requests, almost always cost more since they’re jumping ahead of the standard queue. If you’re not in a hurry, sticking with standard turnaround is usually the cheaper path and you’re not giving up any quality to get there.
File format requests can nudge the price up as well. Most digitizers include one common format, like DST, in their base price, but asking for several formats to cover different machine brands sometimes carries a small extra charge.
How to Avoid Wasting Money on Bad Digitizing
The cheapest file isn’t always the cheapest option once you account for wasted thread, ruined fabric, and orders you end up redoing anyway. In practice, a poorly digitized file usually shows itself through puckering, thread breaks, or gaps between stitches on your very first test run, and by that point, you’ve already spent money on materials that are now scrap.
Before committing to any service, ask for an actual stitch-out sample instead of just a digital preview on screen. A digital preview can look flawless and still stitch out badly, since it doesn’t account for how thread actually behaves against real fabric. Most reputable digitizers, even the affordable ones, are willing to show proof of quality before you commit to a bulk order.
Tips for Getting the Best Value as a Beginner
Start small before ordering a big batch of files from any new service one test design will tell you more than a polished portfolio ever will. Ask directly about stitch count too, since some services bump up their pricing once you cross a certain threshold, and that detail isn’t always spelled out upfront.
Keep your designs simple while you’re still figuring out what looks good stitched versus what just looks good on a screen. Bold shapes with limited colors translate far more reliably once the needle gets involved, and they also tend to cost less to digitize in the first place.
Final Thoughts
Affordable embroidery digitizing doesn’t mean settling for shaky stitch files it means matching the right option to the design sitting in front of you. Simple text and monograms are worth learning to digitize yourself, while detailed logos are usually better left to a budget service that’s willing to prove its quality with a sample stitch-out first. Start small, test before you commit to volume, and those early savings will actually hold up instead of costing you more in wasted thread down the road.