


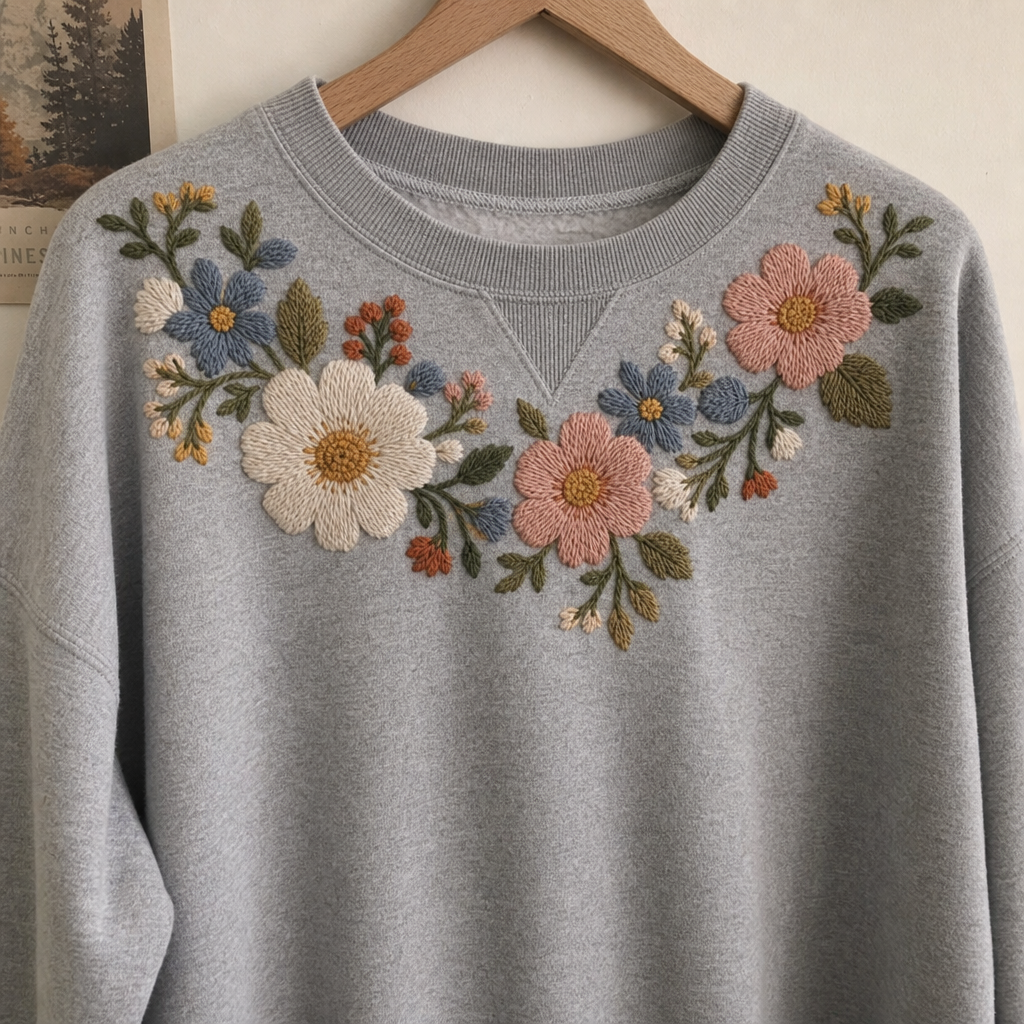
A basic denim jacket is in the closet for a year because it’s, well, basic. A friend comes up to you wearing one that is handstitched with wildflowers and all of a sudden, that same old jacket feels like a project in need of life. It’s generally the way it begins: not a big plan, simply one thing that is finally worth the work. Embroidering garments is one of the most fulfilling, inexpensive hobbies to master and you don’t need to be a genius to make a wearable first time.
Fast fashion means that each of us has a bit of a uniform wardrobe. If it’s done correctly, handstitched embroidery can make something universal something special that no one else has; such as a collar or an engraved quote on a jacket back. You will learn how to work through the materials, stitches and techniques you’ll use to help make this super simple for a total beginner and help them build their own beautiful wardrobe.
Hand Embroidery Beats IronOn Patches:
However, it’s important to first grasp why this craft has experience a big comeback. Embroidery is a very useful upcycling technique, as you can embroider over a small stain or tiny hole rather than discarding the shirt, and you’ve saved money and space in the landfill.
Ironon patches are quick, easy, but fall off after a few washings and are often not very flexible and stick to the skin. Handstitched work can be woven into the fabric and can move with the fabric, unlike adhesive work. It also simply last longer – a well stitched design will last longer than the shirt that it’s on.
The essential supplies for beginners.
When you’re new to crafting, the craft store aisle can seem like a lot, but here’s what’s important and what you can pass over for now.
Start with needles. Embroidery needles have sharper points and longer eyes than tapestry needles — built to carry multiple strands at once. Sizes 3 through 9 cover most mediumweight cotton or linen projects. Heavy denim is a different story; you’ll want something sturdier, like a chenille needle, because a standard one can bend or snap trying to push through it.
Thread is where most people default to DMC without thinking twice, and honestly, that’s not a bad instinct — it’s the industry standard for a reason. Standard floss comes as six loosely twisted strands, and you separate however many you need: one or two for fine detail, all six if you want bold, textured lettering that really stands out.
A hoop keeps the fabric taut so it doesn’t pucker while you work. Wood or plastic, doesn’t matter much. Where it gets tricky is tight spots — cuffs, sleeves, anywhere the fabric folds in on itself. That’s when a mini 3 or 4inch hoop, or a small Qsnap, saves you from fighting the garment the whole time.
Stabilizer comparison
| Stabilizer Type | Best For | How It’s Removed |
|---|---|---|
| Tearaway | Sturdy woven fabrics (denim, canvas) | Torn off by hand after stitching |
| Iron-on Mesh | Stretchy knits; applied to the back of the fabric | Stays permanently; trim close if needed |
| Water-Soluble (Sheet) | Drawing designs directly on any fabric | Dissolves in warm water |
| Sticky-Backed Water-Soluble | Stretchy T-shirts; prevents fabric from shifting | Dissolves in warm water |
Prepping Your Garment and Transferring the Design
Wash and dry the garment before you touch a needle to it. New clothes shrink in that first laundry cycle, and if you’ve already stitched a design, the thread won’t shrink along with the fabric — you’ll end up with puckering you can’t fix.
On light fabric, you’ve got easy options: a water-soluble pen that wipes away with a damp cloth, a heat-sensitive pen (often called a FriXion pen) that disappears with an iron, or the light box method — tape the printed design to a bright window, lay the garment over it, and trace.
On dark fabric, standard pens won’t show up, so you need something different. White carbon dressmaker’s paper, placed facedown under your printed design, transfers chalky white lines when you trace over it with a stylus. Or you can print your design directly onto printable water-soluble stabilizer, peel the backing, and stitch straight through it.
The Step by Step Process
Separate the two rings of your hoop first. Slide the inner ring behind your transferred design, press the outer ring down over it, and tighten the screw while gently pulling the fabric taut — it should sound almost like a drum when you tap it. One thing to watch for: don’t stretch a T-shirt out of shape just to get that tautness. Fabric overstretched in the hoop snaps back to its natural size once removed, and your finished stitches go with it, warped.
Threading is the easy part, but it’s worth doing right. Cut floss no longer than your forearm — anything longer tangles constantly, no matter how careful you are. Separate two or three strands for standard work, thread the needle, knot one end, and you’re set.
On clothing, the back of your work matters almost as much as the front, since it’s sitting right against skin. This is where a lot of beginners default to a big knot out of habit, but that’s exactly what itches later. A “waste knot,” or just weaving the tail under your first few stitches, secures the thread without the bulk.
Once you’re actually stitching, keep tension even — pulling too tight is the single biggest cause of puckering. If you notice it happening midproject, loosen the hoop slightly, double-check the stabilizer is actually holding, and consciously ease off the pull on your next few stitches.
When you’re down to about three inches of thread left, flip the hoop over and weave the needle under your last three or four stitches instead of tying anything off. Snip close and move on.
The Stitches You Actually Need
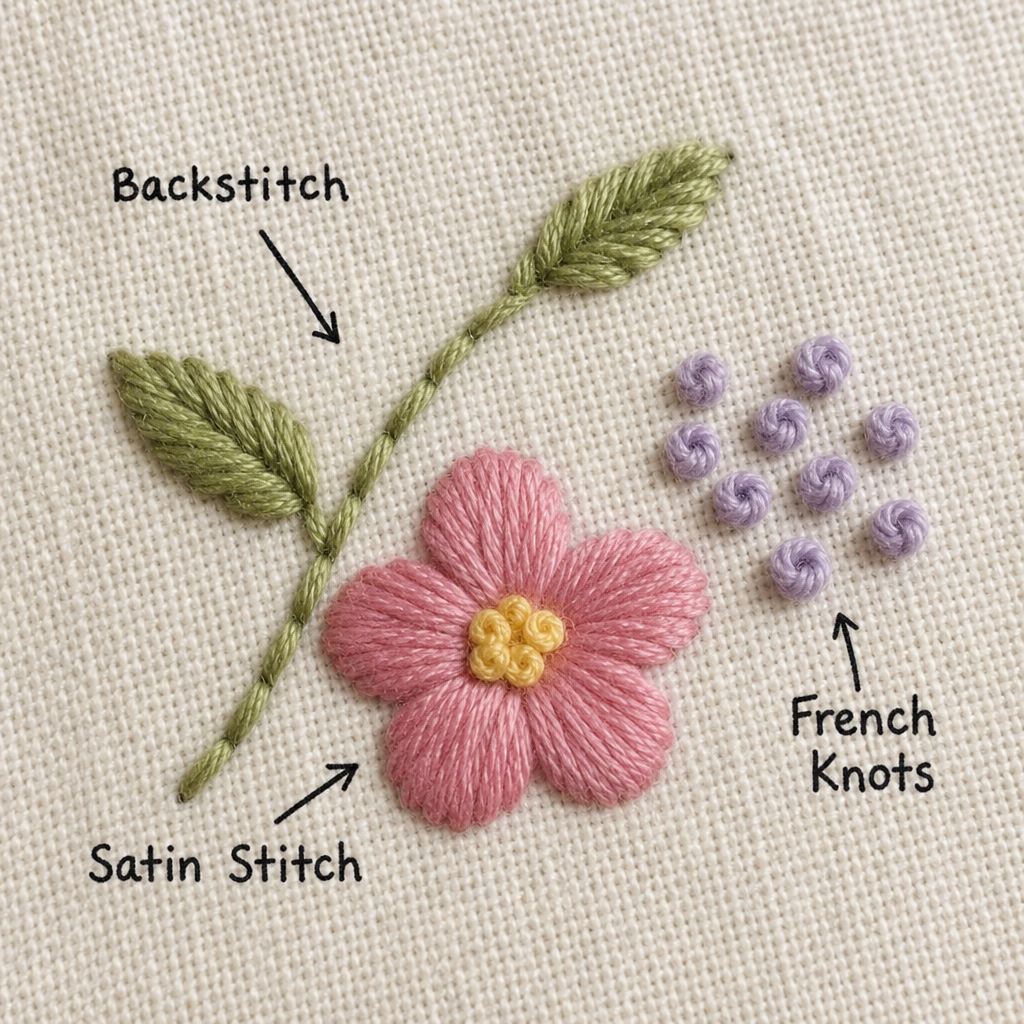
You don’t need a hundred stitches. Honestly, four will cover almost everything a beginner sets out to make.
Backstitch. Up at point A, down at point B a stitchlength back, up at point C a stitchlength ahead of A, then down into the same hole as B. It builds a solid, continuous line and is arguably the most useful stitch for lettering and outlines.
Satin stitch. Fill a shape by laying threads close together, side by side, edge to edge. Beautiful for small hearts or petals — but keep it under an inch. Longer floats of thread snag easily on clothing that gets worn and washed.
French knots. Wrap the thread around the needle two or three times, then insert it right next to where it came up, pulling taut as it slides through. Perfect for flower centers or scattered texture.
Embroidering by Fabric Type
The same design behaves completely differently depending on what it’s stitched into.
- Fabricspecific technique guide
Fabric | Needle | Stabilizer | Key Tip |
Denim | Size 3–5 or chenille | Usually not needed | Loosen the hoop screw fully before fitting it over stiff fabric |
Tshirts / knits | Ballpoint | Sticky watersoluble (front) or ironon mesh (back) | Ballpoint tips slip between fibers instead of piercing and running them |
Sweaters / chunky knits | Standard, larger eye | Watersoluble on top | Use bold, simple shapes — fine detail gets lost in loose weave |
Denim’s tight weave is naturally stable, which is why it’s one of the easiest fabrics to start on. Knits are the opposite — they stretch in every direction and pucker easily, so stabilizer isn’t optional there the way it can be on denim.
Fixing Common Beginner Mistakes
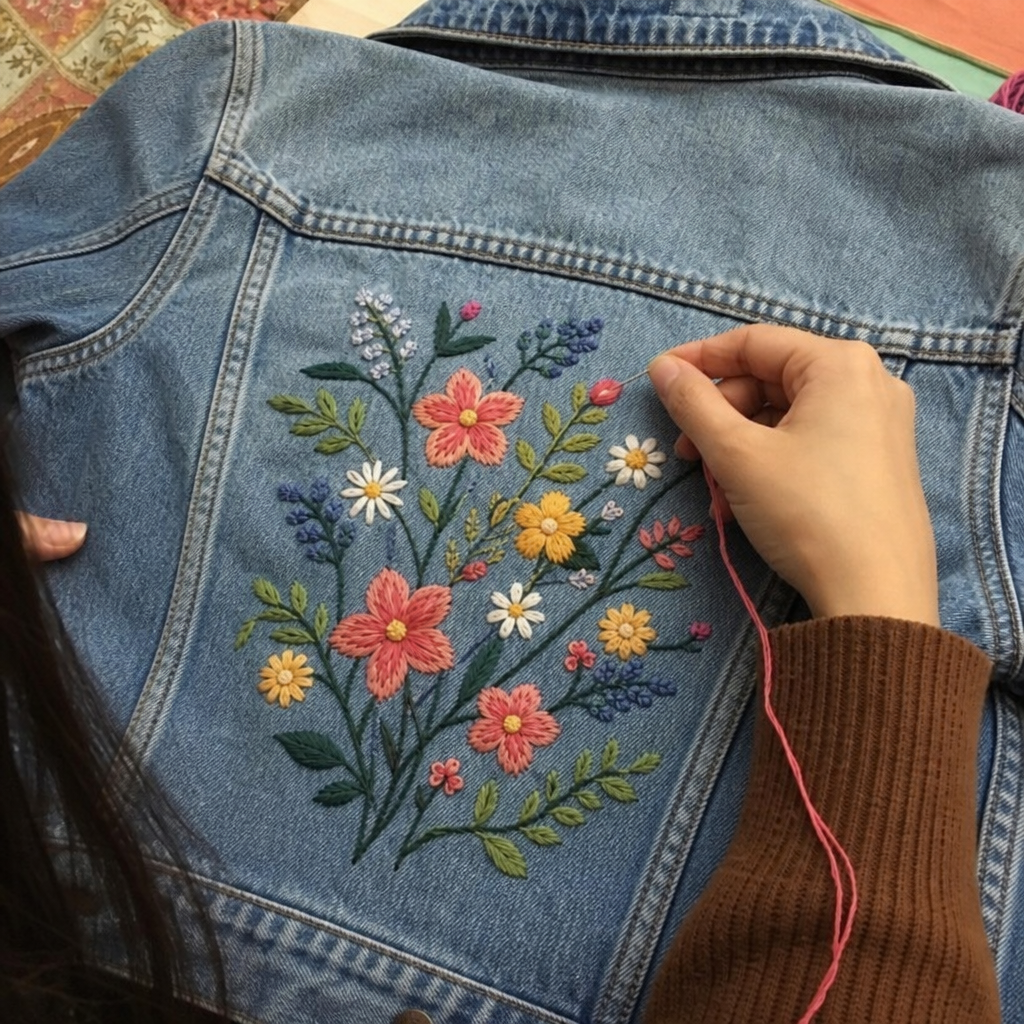
Puckering around the design is the one almost everyone runs into first. It’s almost always tension pulled too tight, or fabric that got overstretched in the hoop. Once it’s badly puckered and unhooped, there’s honestly not much you can do to fully correct it — which is exactly why prevention (stabilizer, even tension, careful hooping) matters more than any fix.
Final Thoughts
The technical side of embroidery is smaller than it looks from the outside — a handful of stitches, the right stabilizer for your fabric, and steady tension cover the vast majority of what you’ll ever need. The rest comes from just doing it: your first few stitches probably won’t be perfectly even, and that’s fine.
FAQs
What supplies do I need to start embroidering clothes?
Needles, cotton embroidery floss, a hoop, sharp scissors, and stabilizer matched to your fabric.
Can I embroider a tshirt without a hoop?
With stiff enough fabric, yes — it’s called “stitching in the hand.” But a hoop makes tension so much easier to control, especially on stretchy knits, that most people don’t bother skipping it.
How do I stop my embroidery from puckering?
Right stabilizer for the fabric, even tension instead of tight, and don’t overstretch the fabric when you hoop it. All three matter.
What's the easiest stitch for a beginner to learn first?
The backstitch, hands down. Simple to execute, forgiving of small mistakes, and useful for outlines, text, and just about everything else.
Do I need different needles for different fabrics?
Yes — sharp needles for wovens like denim and cotton, ballpoint for knits. Ballpoint tips slip between fibers instead of piercing and damaging them.